
I didn't have a pattern, I usually don't use them anyway--they confuse me. I am all about easy peasy mac and cheesy, eye-ball it style measuring and as little pinning as possible when it comes to sewing. I wanted to make it way less frilly and more "restauraunt guy-ish." This is the apron I ended up making! It's pretty cute and it would also make for an adorable art smock for school.
So I made up a little tutorial of what I did, because who doesn't like a "SEW EASY" project!


Then fold the two pieces in half and on the cut side of the fabric cut out a rectangle shape.

You should end up with two pieces of fabric that look like this.

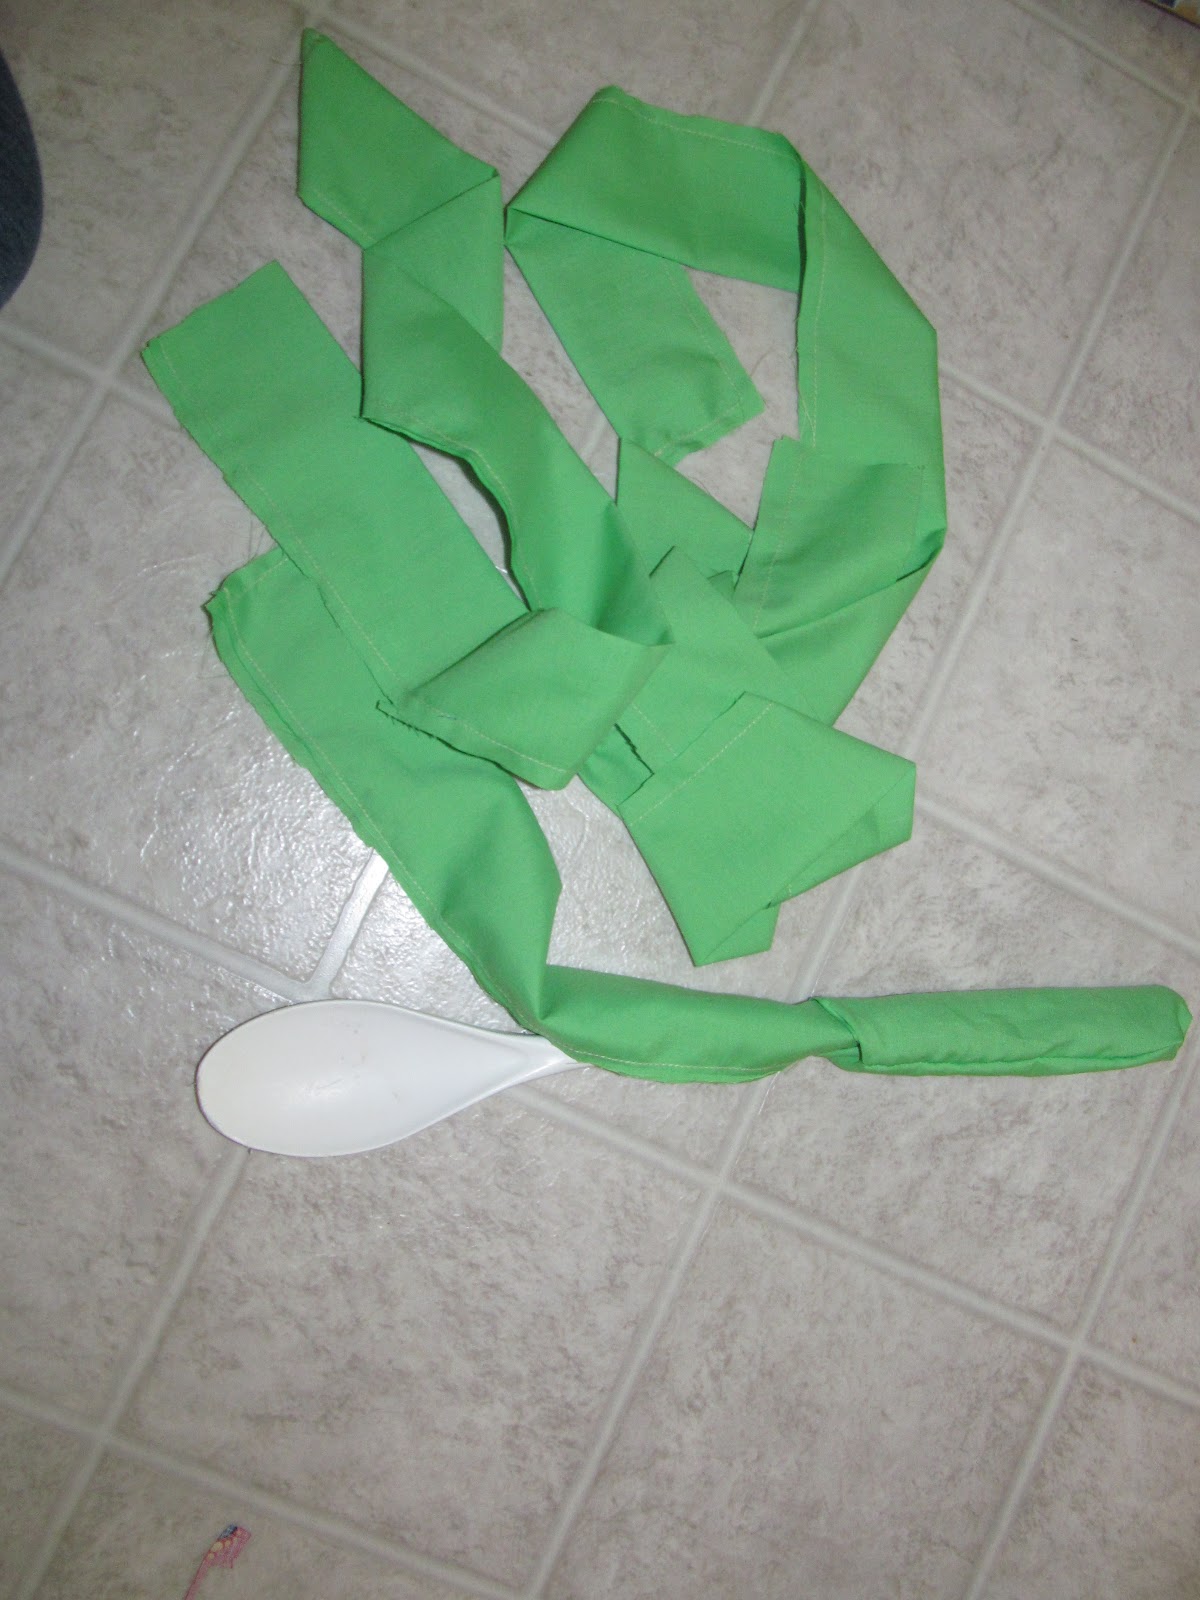
Then cut 4 strips of of coordinating fabric, these will become the neck and waist ties... I made mine about 5" by 16".

Then iron them in half, right sides should be inside the fold. The fabric I used had no "wrong side."


Pin the two pieces of apron fabric right sides together and sew around the top and sides.

Now turn the apron right side out, remove any pins, and iron down the seams.. almost done now!

Next hem up the bottom, start by folding up about 2 inches or so

Fold the fold in half pinning the raw edge of the fabric into the fold, this will make a lovely professional looking hem with no raw edges to be found on the front or the back.

Sew the hem once near the bottom of the fold, once near the top...I like to use the cute zig zaggy stitch.. on my machine its number 04.


Pin the pocket where you'd like it, and sew around the bottom and sides.. and pat yourself on the back because you just made an adorable little APRON!!! Waaahoooo!!!
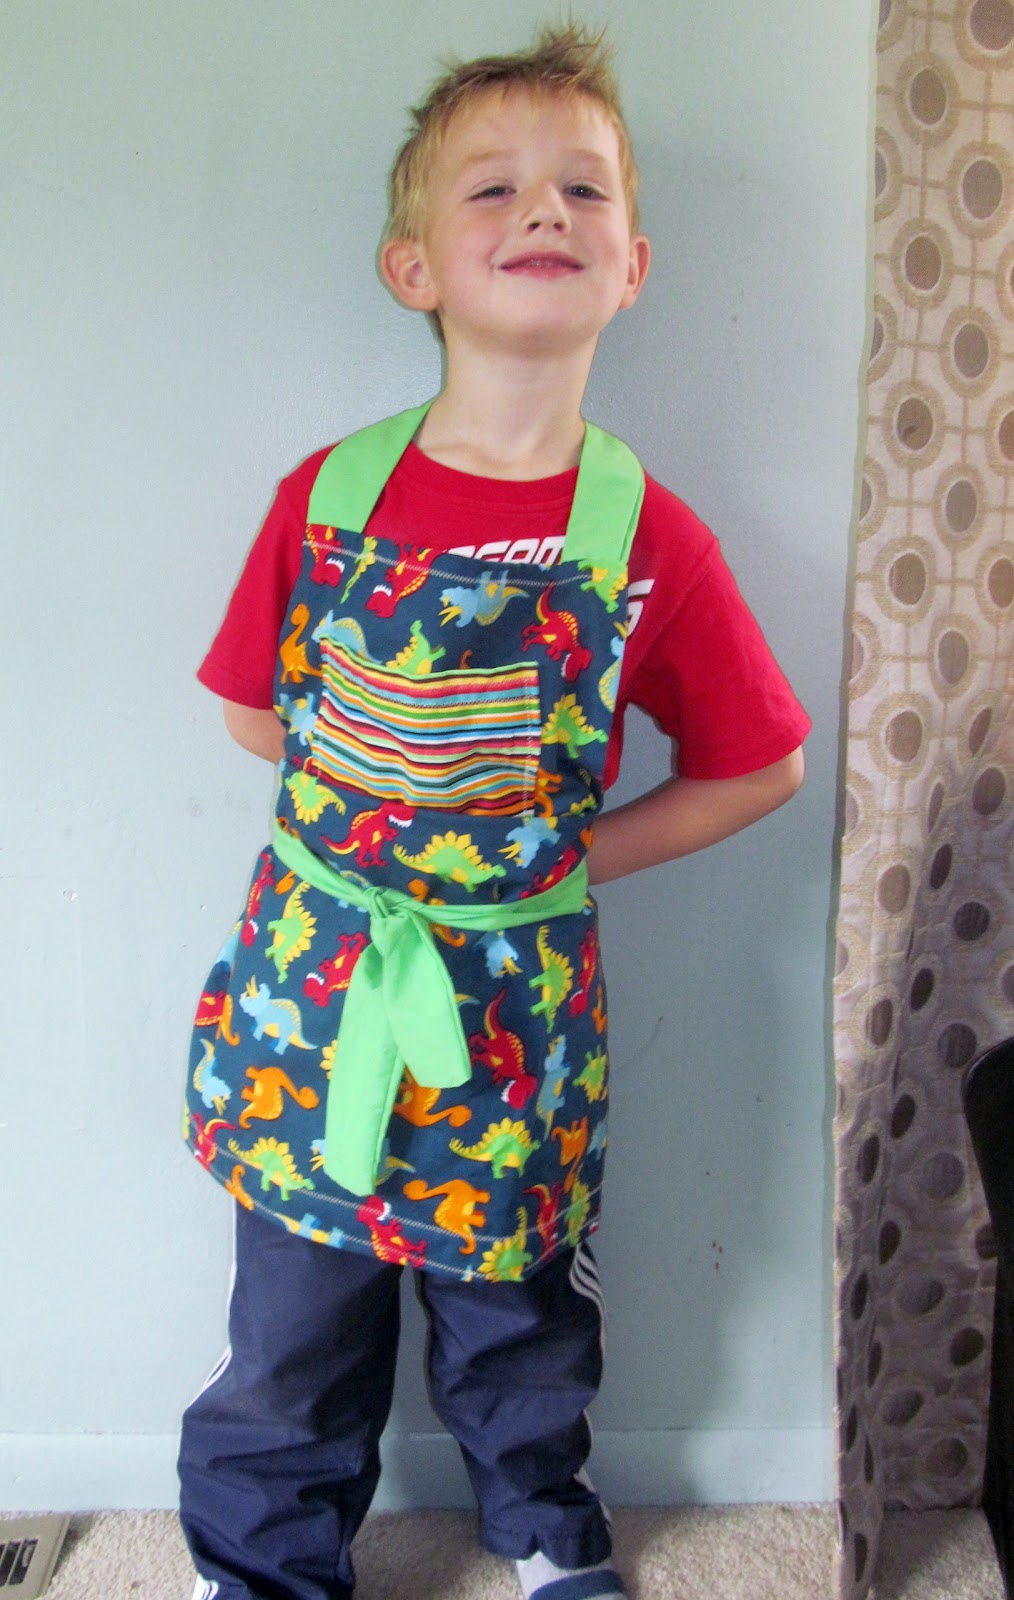
Here is Will, wearing his apron, helping Daddy make pancakes this Saturday

Oh and P.S. The Apron also fits me, you could easily use a larger piece of fabric to make it longer, if you wanted to make an adult size apron, other than that just follow the same steps!

how cute! Thx for posting this. I've been meaning to make some art aprons for my children but I'm just beginning to sew and I'm kind of anxious to start a project without some direction. :P
ReplyDelete